1. Parameter description of screw feeder
Input voltage: AC100V-240V 50/60HZ
Output voltage: DC15V 1.5A
Silo capacity: about 10,000 pieces (take M2.5*8 screws as an example)
Product size: L181.5mm*W126mm(268mm with silo sensor)*H239mm
Net weight: about 3.7 kg
Suitable screw: M1.2—M3.5
Maximum screw length: L=15.0mm
2. the screen display and key description
1. Under normal circumstances, the default factory settings can meet the requirements of use, and no further settings are required.
2. After starting up, the four-digit digital tube screen displays the number of feeding times.
3. Press and hold the "SETTING" button for 3 seconds to enter the setting interface, and then press the "SETTING" button to enter the next parameter setting, the display is as follows: ("** represents related parameters)
1-** Pushing speed adjustment, the default is 15, that is, the medium speed, and the adjustable range is 00-30;
2-** Material shortage hold time adjustment, the default is 20, that is, 2 seconds, and the adjustable range is 05-95;
3-** Factory reserved function;
4-** The running time of a single feeding, the default is 03, and the adjustable range is 01-30 seconds;
Press "Up/Down" to increase/decrease the corresponding parameter value, and "Enter" to save and exit. Parameters have power-off memory function.
3. photoelectric sensor adjustment
1. Adjustment method: First, the feeder and the feeder must be free of screws (important). When the feeder is turned on, the red light of the sensor will shine on the bottom of the feeder's slant pocket. Use a screwdriver to turn the cross adjustment knob of the sensor counterclockwise. Observe that the left indicator light stops when the orange light is on, that is, the initial longest sensing position, and then continue to turn counterclockwise 1/8 turn, that is, set the screw sensing height, and the adjustment is completed. Finally, add a lot of screws to the feeder pocket, add an appropriate amount of screws to the feeder, and start running.
2. Function description of photoelectric sensor
| 


 Location:
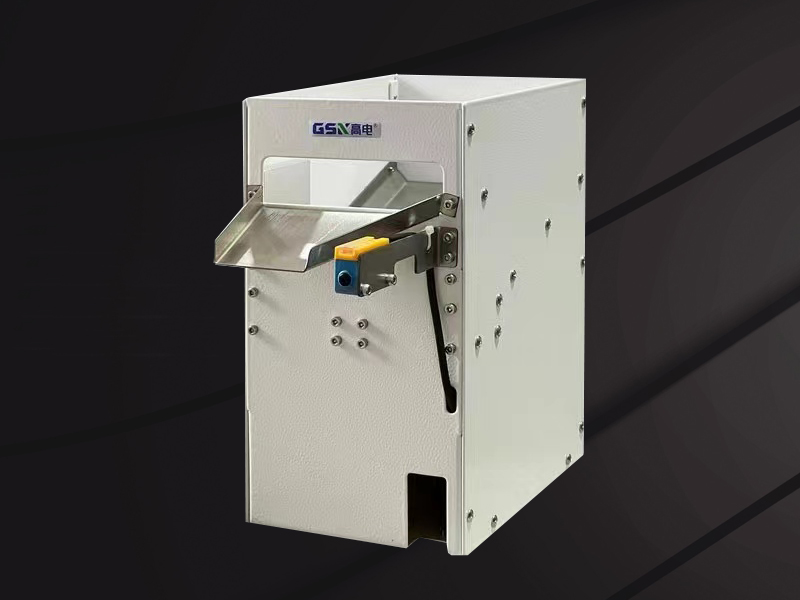

 销售经理
销售经理 销售经理
销售经理